Okay, here are two detailed tutorials.
1. Lightning (I picked this one up after a different tutorial, and playing around a bit)
Create new document (500px x 500px x72dpi works just fine)
Set colours to default (Black and white)
Filter > Render > Clouds
Filter > Render > Difference Clouds
Invert (Ctrl-I)
Levels (Ctrl-L) > Move the grey midtones slider to the furthest right
Filter > Stylize > Glowing Edges with low edge width, medium brightness, and low smoothness (Ex. 2/6/3)
Colorize (Hue/Saturation) (Crtl-U) Check the "Colorize" box, put the saturation to the max (255), and the hue to whatever colour you want.
Annnnd you're done!
2. Glass
Create a new document, with a 3x3 pixel dimension.
Fill it with black, with one white pixel in the middle.
Then go Edit > Define Pattern and save the pattern.
Open up a picture (whatever one you want), And make a new layer.
Edit > Fill > Use "Pattern"
Now select the pattern than you just made (the 3x3 pixel one) And click "Ok"
Now here's where you can get creative.
You can either go Filter > Distort > Glass/Ocean ripple on whatever settings you want, or use some other distortion filter. I'll cover the 'block' setting of Glass later, though.
After you've distorted the pattern, apply a gaussian blur of between 1-3 pixels (Filter > Blur > Gaussian Blur)
>>> If you want to make it look somewhat like window panes, instead do Filter > distort > glass, change the texture to blocks, distortion to 5 and smoothness to 4, and adjust the scaling to something higher if your picture is big (I'm working on a 1024x768 document). It'll look very messy, so apply the blur (1-3 pixels, again, whatever works, i'm using 1.5). Now go Filter > Stylize > Glowing edges, 2 width, 7 brightness, 2 smoothness. <<<
Whichever distortion you used, now set your blend type to screen (In layer options).
Now you can have some fun. Grab the magnetic lassoo tool (hiding underneath the regular lassoo tool) and, while selecting your distorted glass layer, make an odd shaped selection (however you want it). Hit delete (clear the selection that you made), and then go Select > modify > border. Make the width something appropriate (guess and check, basically, bigger selections need bigger width). On mine I used 70 pixels, but 20 is good for smaller pictures.
Filter > Stylize glowing edges, keep the settings that are there, but put the brightness up to around 15-20 (Adjust the smoothness to around 5 if your edges are too sharp).
Now you're pretty much done, from here you can play around with it, add different textures overtop, set them to screen, and then select the "broken" part of the glass (in the middle, and delete it from the texture. Adding more layers of glass can also be neat.
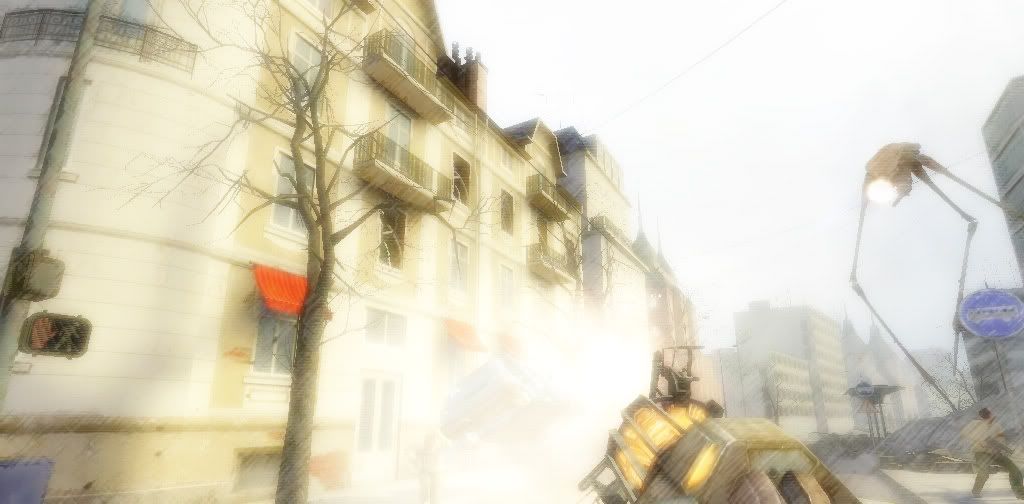
Here's my result after messing around for a few minutes:

I could make a tutorial on how to work that on real windows, if anyone's interested.
EDIT: Here it is, worked on a real window.


